After generating your Let’s Encrypt SSL certificate in Really Simple Security (step-by-step instructions here), you will have received three files: CRT, KEY and CABUNDLE.
These files have to be uploaded in your MediaTemple Dashboard, after which your site will be secured with SSL.
- Login to the MediaTemple user portal
- Navigate to the “Overview” page
- Find your domain in the list of sites and click the domain where SSL should be installed
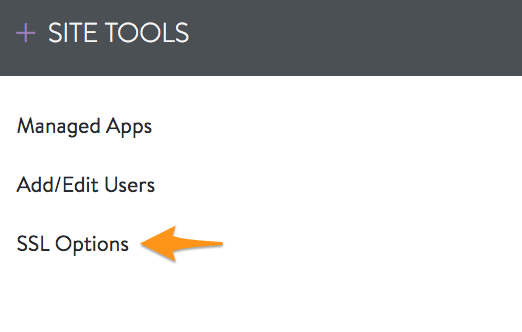
- Select “Manage SSL Certificate Options” or “SSL Options” (this may vary slightly, depending on your hosting plan).
- Click on IMPORT CERTIFICATE.

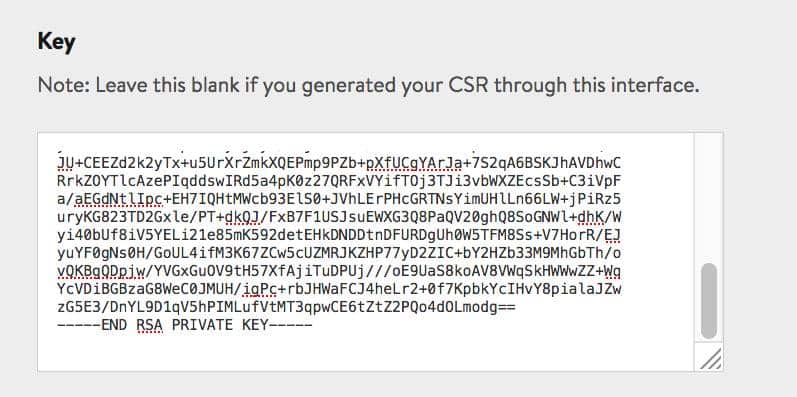
- Copy the contents of the KEY file that was generated by Really Simple Security, and place it within the first field in MediaTemple (the Key field).
- You have to slightly adapt the content of the KEY field for MediaTemple to accept it as a valid key.
Replace the first and the last lines of the content you copied to the Key field:
–BEGIN PRIVATE KEY–
–END PRIVATE KEY–
With the below lines, where RSA has been added:
–BEGIN RSA PRIVATE KEY–
–END RSA PRIVATE KEY–
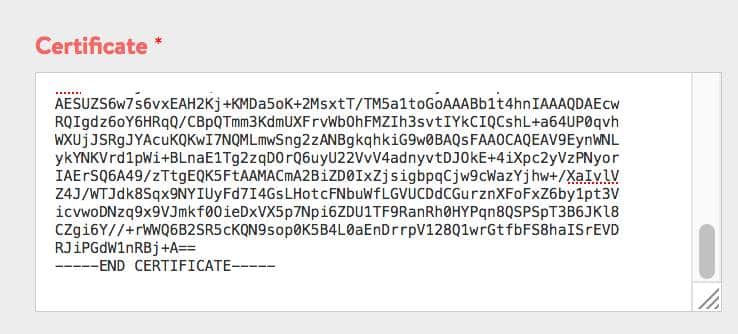
- Copy the contents of the CRT file that was generated by Really Simple Security, and place it within the second field in MediaTemple (the Certificate field)
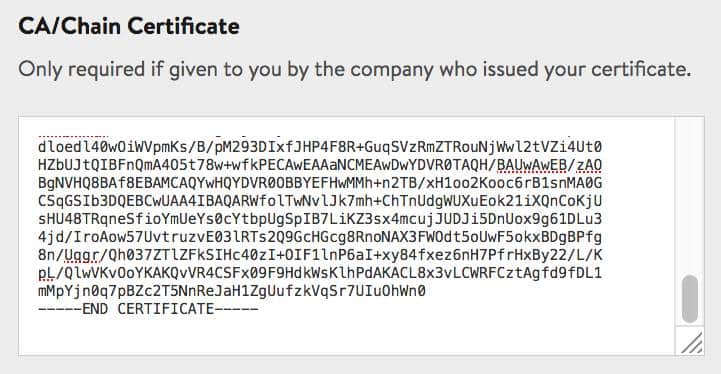
- Copy the contents of the CABUNDLE file that was generated by Really Simple Security, and place it within the third field in MediaTemple (the CA/Chain Certificate field)
- Finally, Save the changes. Your site will now be secured with a Let’s Encrypt SSL certificate.