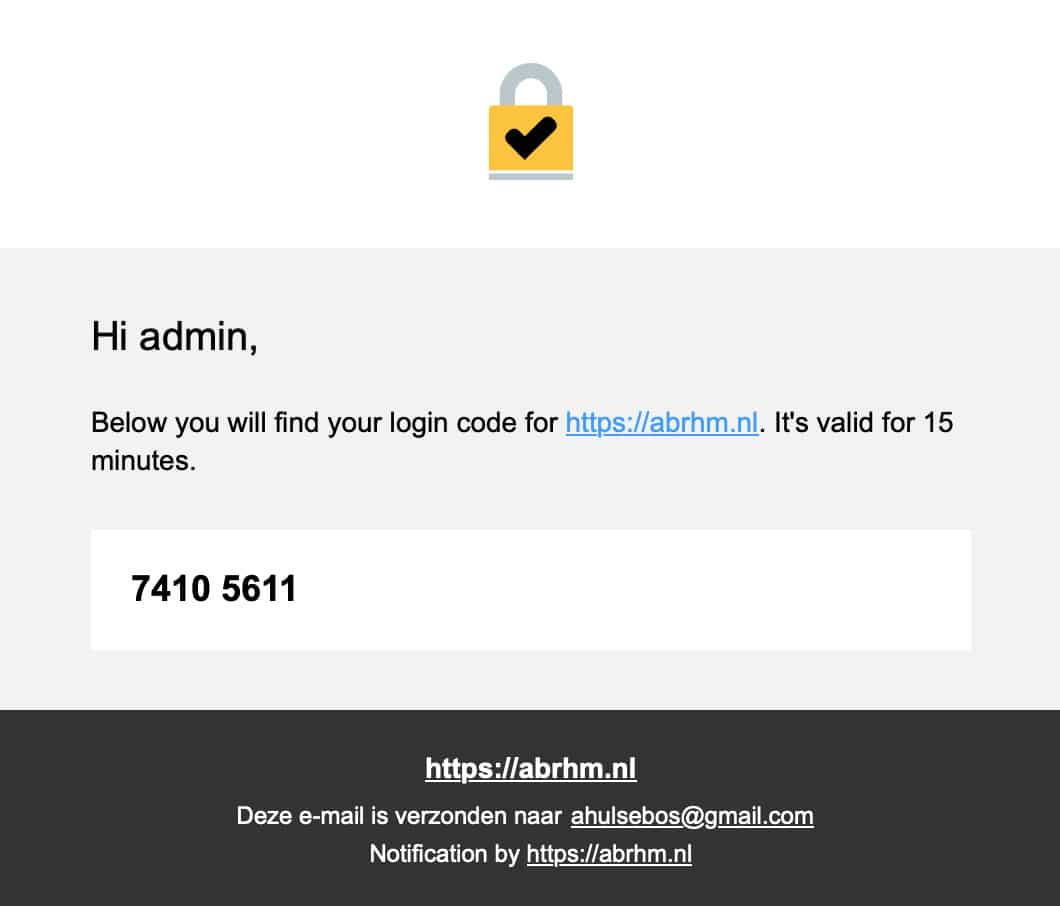
You will be sending emails to your users, from your server. This means you can edit the email template to your liking. Here we will explain how to override the HTML template, and use your own logo. The unbranded version of the email will be sent to your users.
Overriding the default E-mail 2FA template
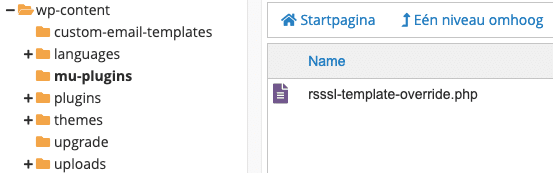
– Create a new folder in the /wp-content/ directory of your WordPress site, rename the folder to custom-email-templates
![]()
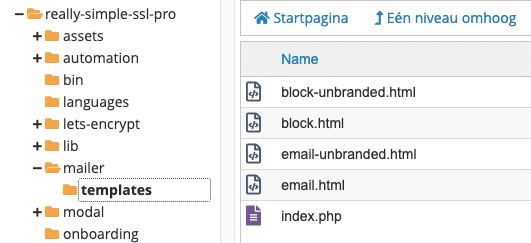
– Navigate to /wp-content/plugins/really-simple-ssl-pro/mailer/templates/, and create a copy of the email-unbranded.html file that’s located here.
– Move the newly created copy of email-unbranded.html to the /wp-content/custom-email-templates/ folder (the one you created in the first step), and rename the file to custom-email-unbranded.html

The custom-email-unbranded.html file in the /wp-content/custom-email-templates/ is your new e-mail template, which can be customized as desired.
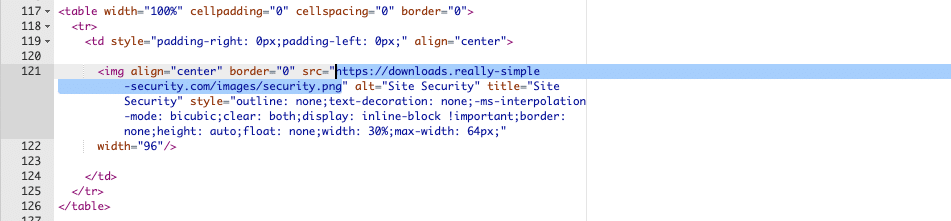
For instance, you can modify the logo by changing the URL of the image https://downloads.really-simple-security.com/images/security.svg (as highlighted in the screenshot below), to the URL of your desired logo.
– Add the following code snippet as a new .php file in the /wp-content/mu-plugins/ folder of the site (we’ve called it rsssl-template-override.php in the below screenshot). This overrides the standard email 2FA template with your new, custom template.