Starting with Really Simple SSL Pro 8.1 it is possible to implement a CAPTCHA in your login form. In this article we explain how you can configure a Captcha on the default login form for your WordPress website.
- Navigate to Really Simple SSL -> Settings. Under General settings you will see the ‘Captcha’ block as shown below
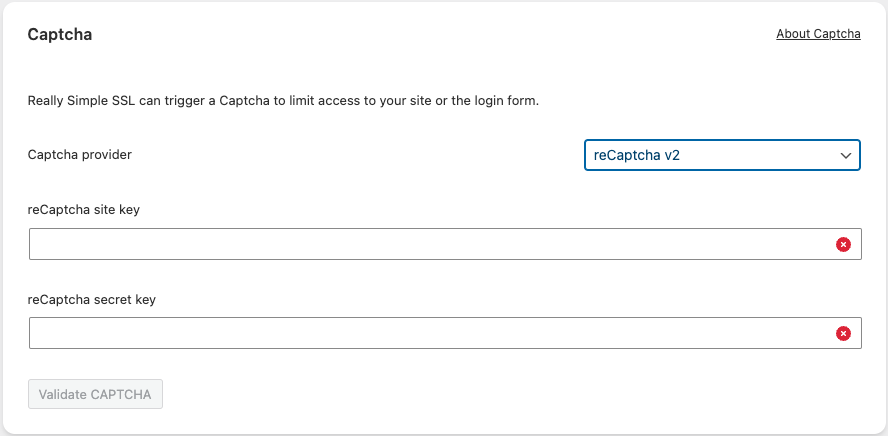
2. Currently Really Simple SSL has integrated hCaptcha and reCaptcha v2, which you can select via the Captcha provider dropdown. hCaptcha is the more privacy-friendly alternative to Google’s reCaptcha. Via this interface you can enter the site key and secret key for the provider of your choosing. both providers allow you to generate keys for free:
3. Once you have entered your valid keys, the ‘Validate CAPTCHA‘ button will be enabled. If you click it, a Captcha will appear. You need to resolve the Captcha to validate that the entire process works as expected. After the Captcha is verified, you will see two green checks in the site key and secret key fields.
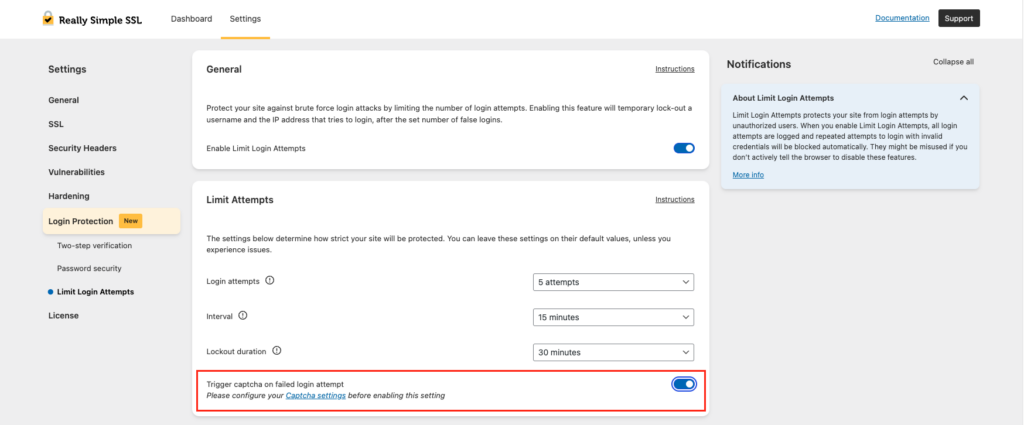
4. Now that we have chosen and configured our Captcha provider, we can enable Limit Login Attempts and allow a Captcha to be thrown after the first failed login attempt. Navigate to Really Simple SSL -> Settings -> Login Protection -> Limit Login Attempts and enable Limit Login Attempts (LLA in short)
5. When LLA is enabled and step 1 to 3 are completed, the Trigger captcha on failed login attempt setting can be enabled.
Now we’re done! The resulting login protection (with default settings) will be:
After 1 failed attempt within 15 minutes -> Throw Captcha
After 5 failed attempts within 15 minutes -> Block IP address and username
