This article will explain how to manually add the recommended security headers to your website. For more advanced security headers or automatically add the security headers, please consider subscribing to Really Simple Security Pro. Security Headers add important additional protection for visitors of your website.
The security headers
Security headers are instructions your web server sends to a visitor’s browser. They tell the browser how to safely handle your site, which domains can load content, whether the page can be embedded in an iFrame, and how to handle secure HTTPS connections. They are not visible to front-end users, but they matter immensely.
The WordPress Site Health screen flags missing or misconfigured headers as a warning. This page covers what each recommended header does and how to set it up manually.
- HSTS – When this header is set on your domain, a browser will do all requests to your site over HTTPS from then on.
- X-Content-Type-Options – This header will force the browser not to “guess” what kind of data is passed.
- X-XSS-Protection – Instructs the browser on how to configure XSS protections.
- Referrer Policy – Determines what info is sent to the domain of a link you’re clicking on.
- X-Frame-Options – Can prevent your site from being embedded in another site, protects against clickjacking attacks.
- Permissions-Policy – Allows sites to more tightly restrict which origins can be granted access to browser features.
What you will need
Before manually adding these files you will need to access your .htaccess file. This file only available on Apache servers via FTP.
- FTP Credentials
- Text edit program to open .htaccess file
- Some patience and no worries as everything is reversible.
- Let’s get started!
Manually adding security headers
Let’s start with the basics, opening, and adding a line to the .htaccess file.
- Open your FTP client and visit the root of your website. The root is where wp-admin, wp-content folders are located, including the .htaccess
- If you can’t find the .htaccess, make sure you can view all hidden files. For most FTP clients go to “View” and select “Show hidden files” or similar.
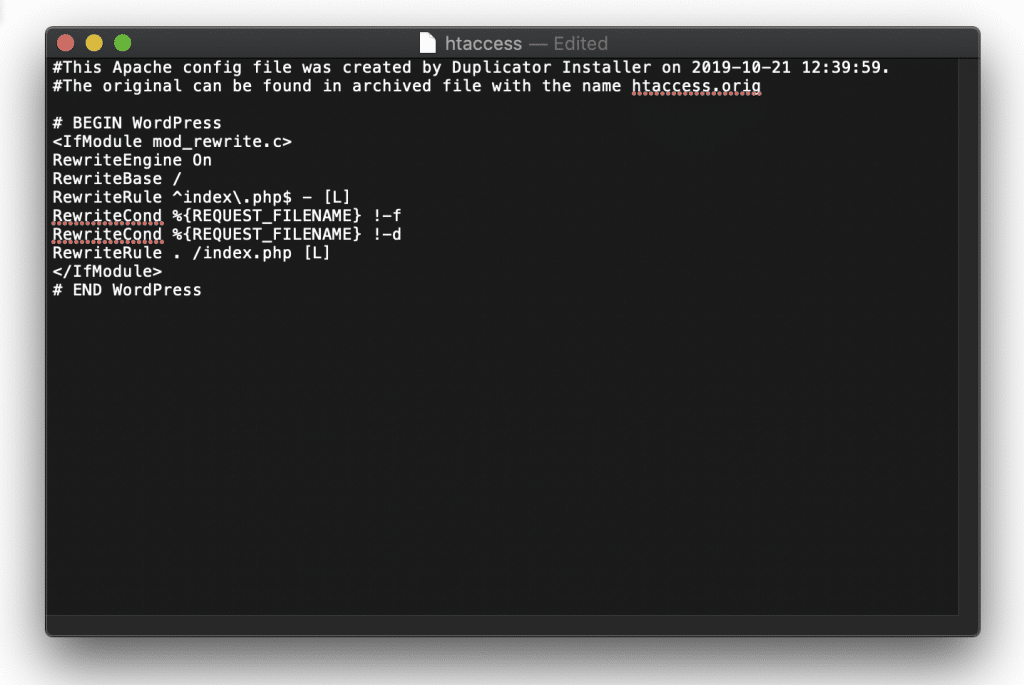
- Download and open the file in a text editor to see a file resembling the below image. Sometimes you can’t save a file starting with a dot. Save the file without the dot and continue.
Adding a line
- We recommend adding a line between comments. In this case we will always add a security header per line, between the same comments. For example
# Begin Really Simple Security
// This will be a security header..
# Begin Really Simple Security
Or as an example:
Adding HSTS
Add the following line between the comments as show above. We will end with an example to compare with. We will also repeat the comments, please don’t repeat comments in the file.
# Begin Really Simple Security
Header always set Strict-Transport-Security: "max-age=31536000" env=HTTPS
# End Really Simple Security
- To remove HSTS. Keep the line, but set max-age to zero. Or "max-age=0"
Adding X-XSS-Protection
# Begin Really Simple Security
Header always set X-XSS-Protection "0"
# End Really Simple Security
Adding X-Content-Type-Options
# Begin Really Simple Security
Header always set X-Content-Type-Options "nosniff"
# End Really Simple Security
Adding Referrer Policy header
# Begin Really Simple Security
Header always set Referrer-Policy "strict-origin-when-cross-origin"
# End Really Simple Security
Adding X-Frame-Options header
# Begin Really Simple Security
Header always set X-Frame-Options: "SAMEORIGIN"
# End Really Simple Security
Adding Permissions-Policy header
# Begin Really Simple Security
# Header always set Permissions-Policy: ""
# End Really Simple Security
.htaccess example
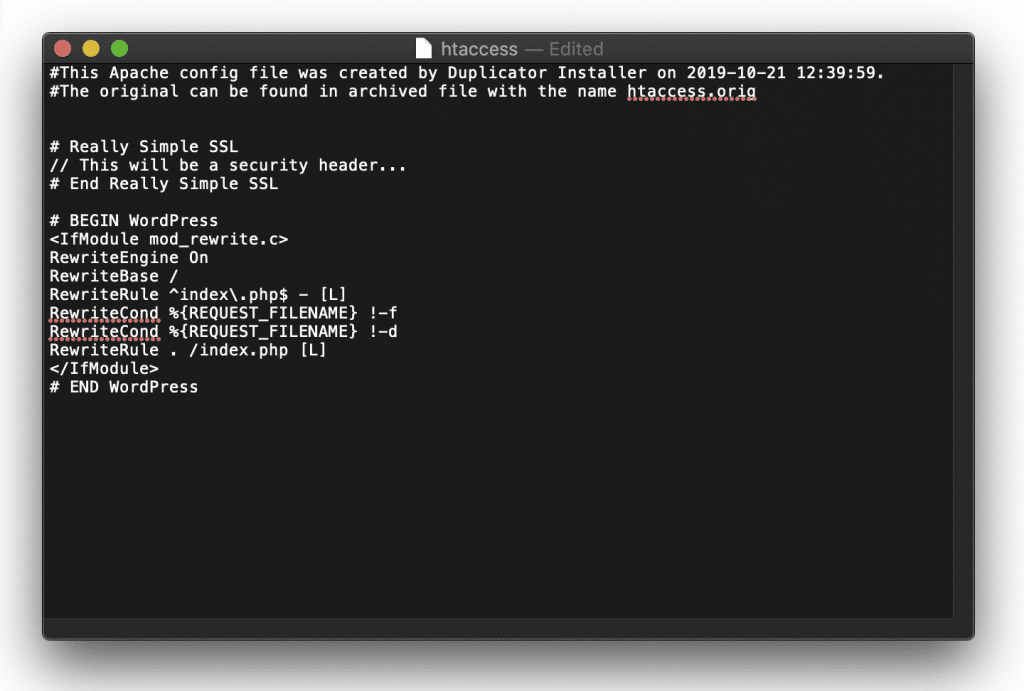
In the below image you will find an example of multiple combined Security Headers set manually in the .htaccess file, added between the two # Really Simple Security markers/comments.
(Note: you do not have to add the headers to the .htaccess manually when using Really Simple Security Pro, as the plugin will set the headers automatically based on your plugin configuration.)

Uploading and Troubleshooting
Before uploading, make sure you have a back-up of your current .htaccess file. As an example:
- Upload the new file with filename 1htaccess
- Change the current .htaccess to htaccessback-up
- Change 1htaccess to .htaccess to activate your new file.